Reach out toady.
Protect what matters.
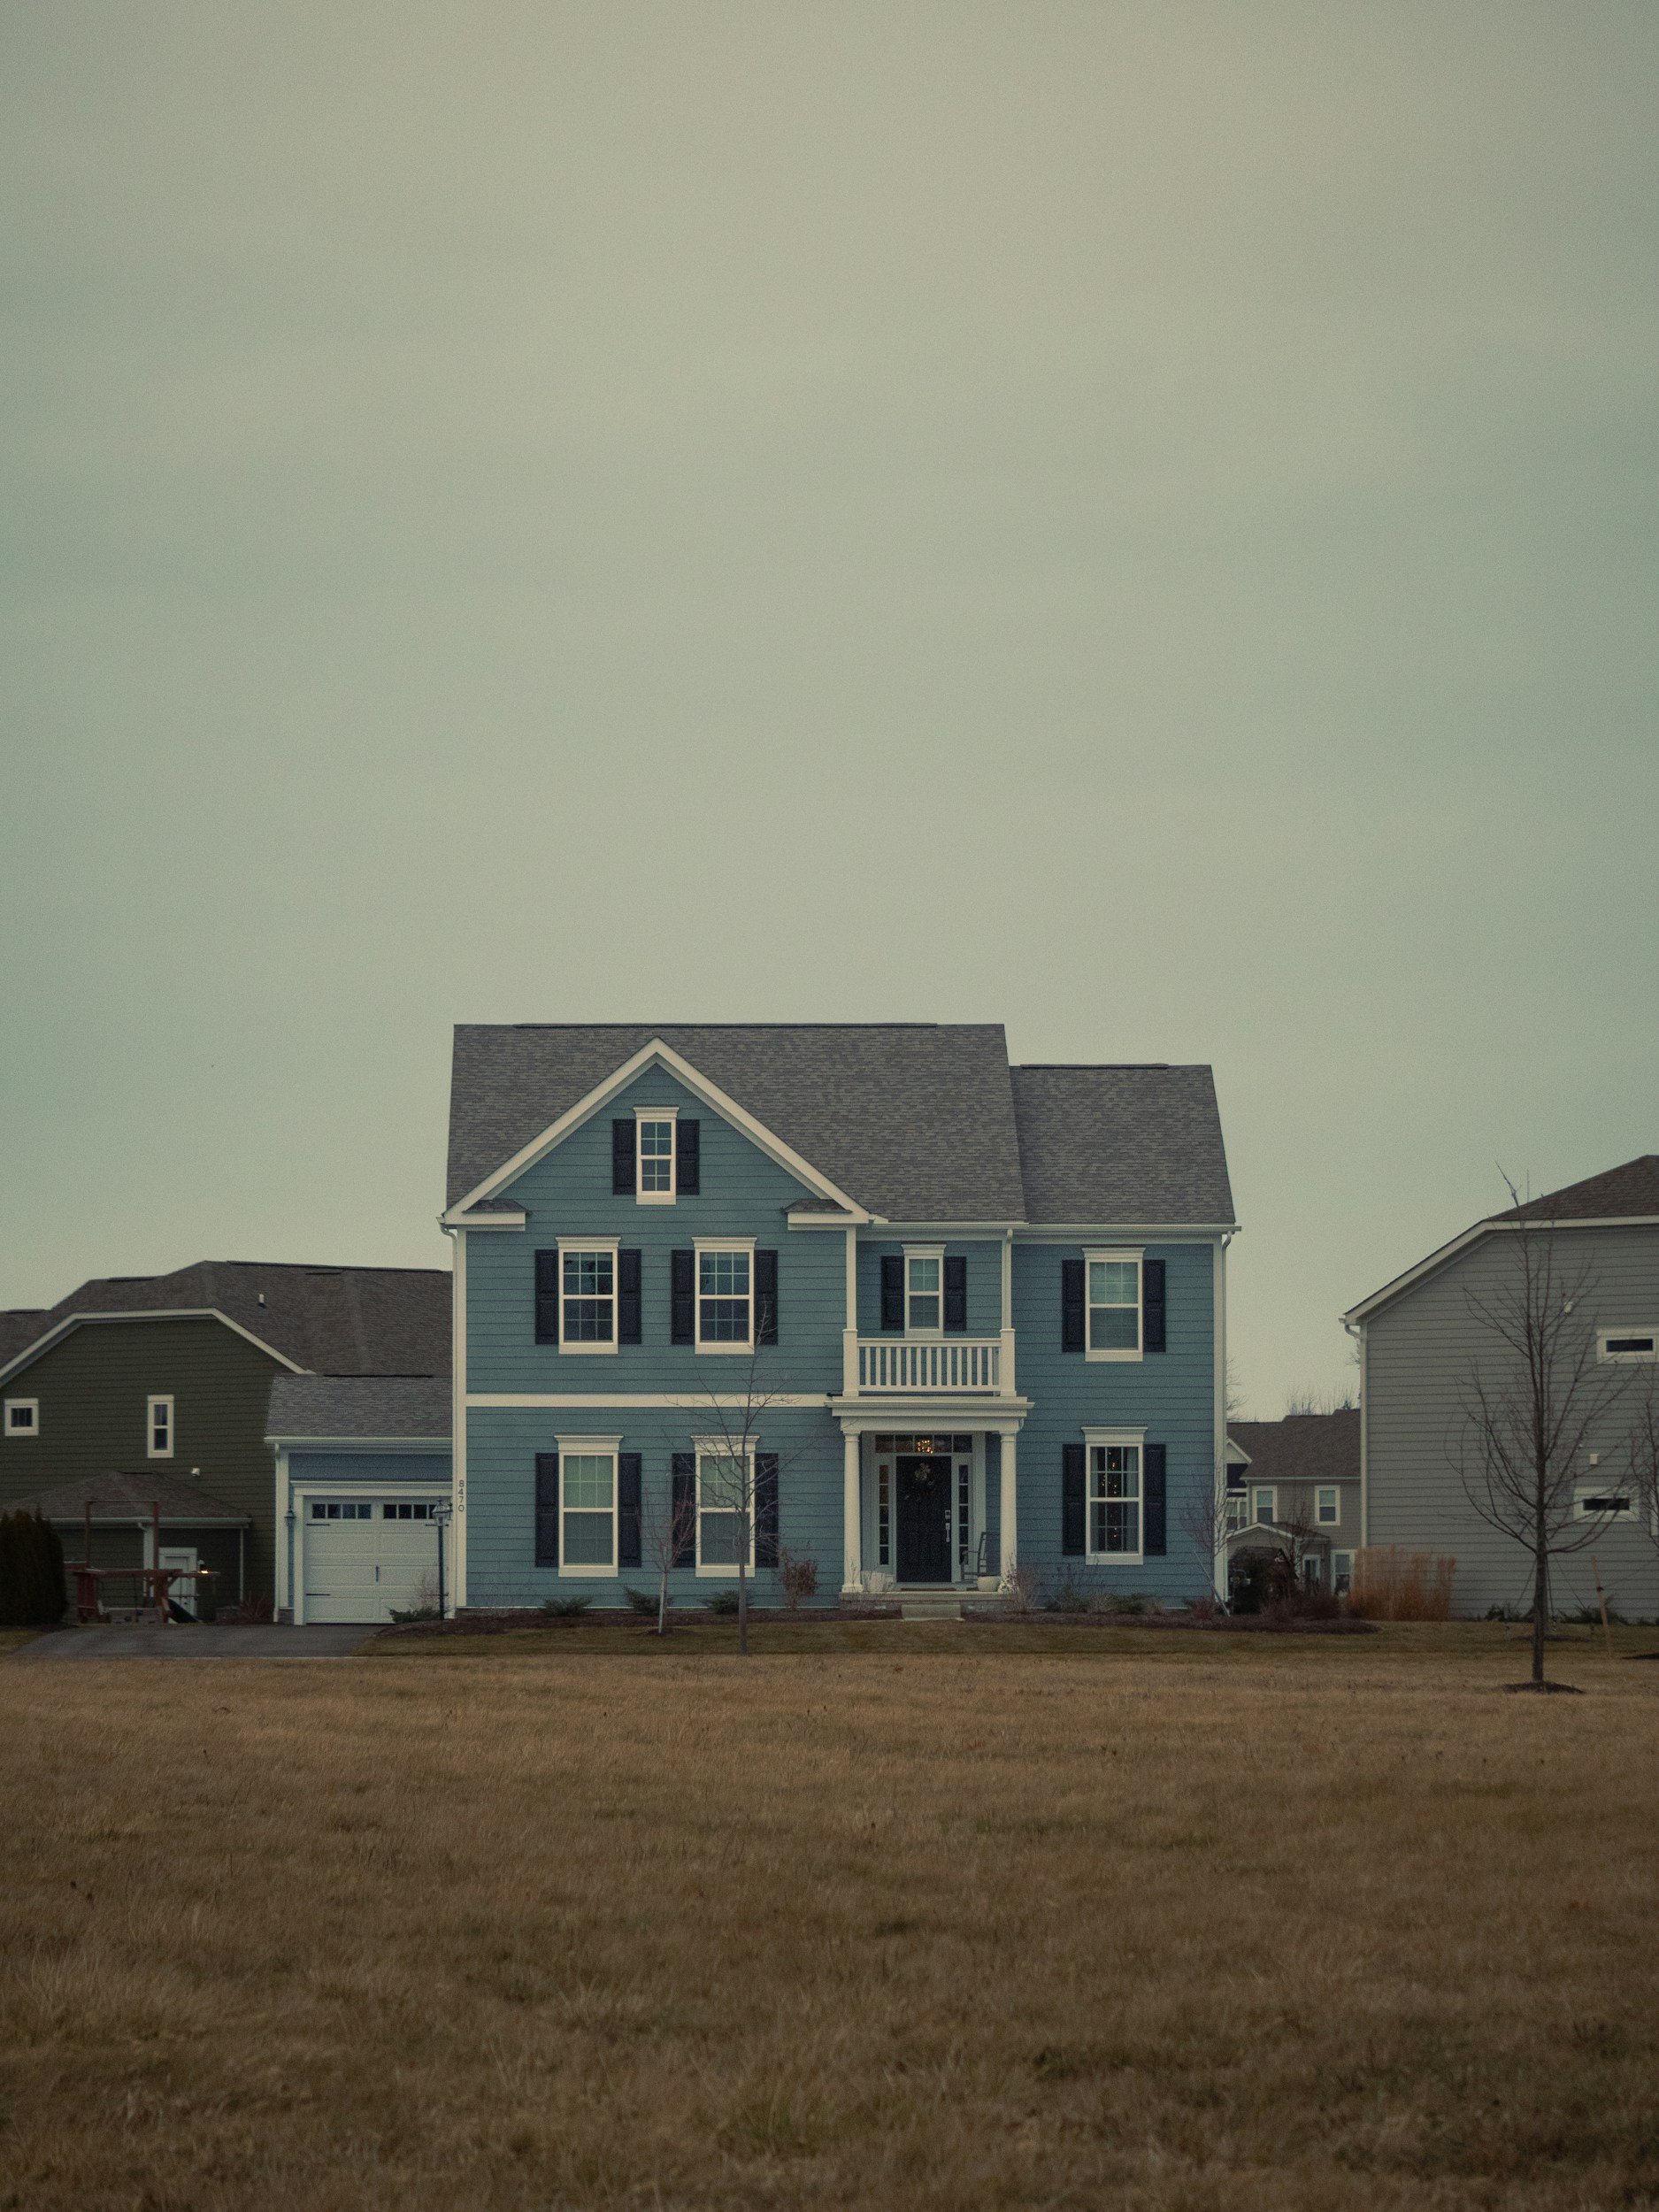
Siding installation is the process of removing old exterior siding (if necessary) and attaching new siding to the outside of a home or building. The siding acts as a protective layer while also improving the home's appearance.
Common steps in a siding installation include:
Inspection and Preparation – The installer checks the home's exterior for damage, moisture, or structural issues.
Removing Old Siding – Existing siding is removed if it's damaged or being replaced.
Repairing the Surface – Rotten wood or damaged sheathing is repaired to create a solid foundation.
Installing a Weather Barrier – A moisture-resistant house wrap is applied to help prevent water infiltration.
Installing the New Siding – The chosen siding material (such as vinyl, fiber cement, engineered wood, or metal) is carefully measured, cut, and fastened according to manufacturer specifications.
Adding Trim and Finishing Touches – Corners, soffits, fascia, window trim, and other finishing pieces are installed to create a clean, weather-tight appearance.
Final Inspection and Cleanup – The installer checks for proper alignment, secure fastening, and cleans up the work area.
Benefits of a professional siding installation
Protects your home from rain, wind, pests, and UV damage.
Improves energy efficiency by reducing air leaks when paired with proper insulation.
Enhances curb appeal and increases home value.
Reduces maintenance, especially with durable materials like vinyl siding.
Helps prevent moisture damage and mold growth.
A quality siding installation can last 20–50 years or more, depending on the material and how well it is maintained. Proper installation is just as important as the siding itself, since incorrect installation can lead to water damage, warping, or reduced energy efficiency.